Dust Shield Pro Poles by Surface Shields are useful tools when trying to contain dust quickly and efficiently. They are a popular option over competitor poles due to their industrial quality build. Surface Shields offers two sizes, 12ft and 20ft. The poles have a simple yet effective design making them very easy to use. One feature that is easy to over look but will drastically improve the performance of the poles is the micro tightening bolt.
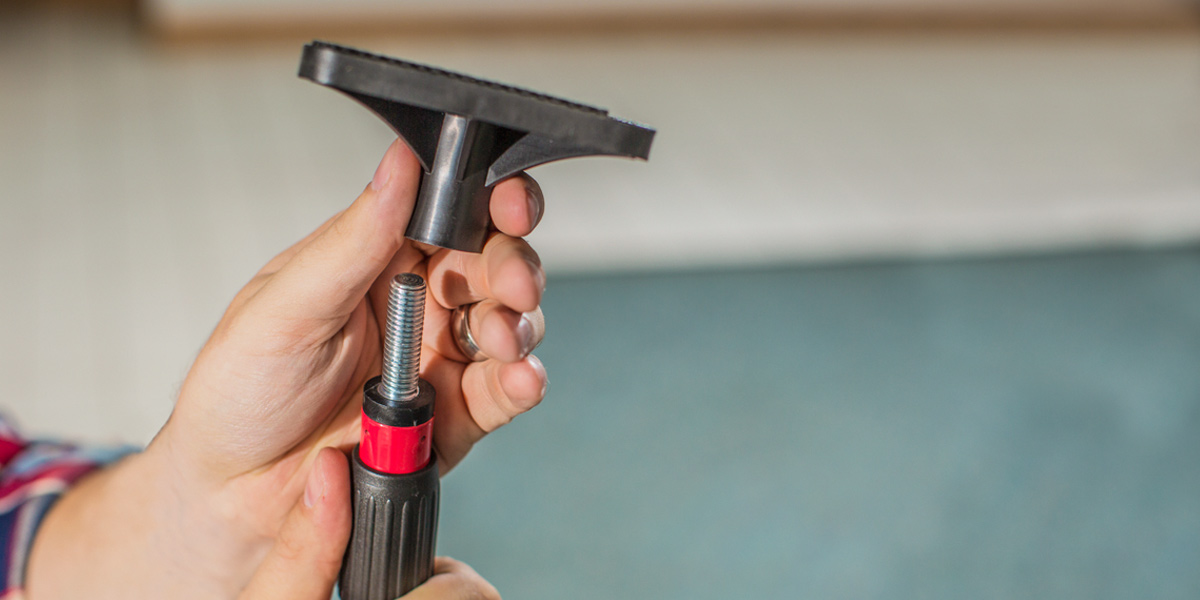
When you first open up a box of brand new poles, you’ll notice that at the top of the pole is a large, thick gauge metal bolt. This bolt is firmly fixed to the body of the pole. This is the “head mounting bolt” and can also be referred to as the “top micro tightening bolt”. You can install the head piece by simply screwing it on, but note that the bolt is reverse threaded, so you need to turn the head counter clockwise to in order to install.
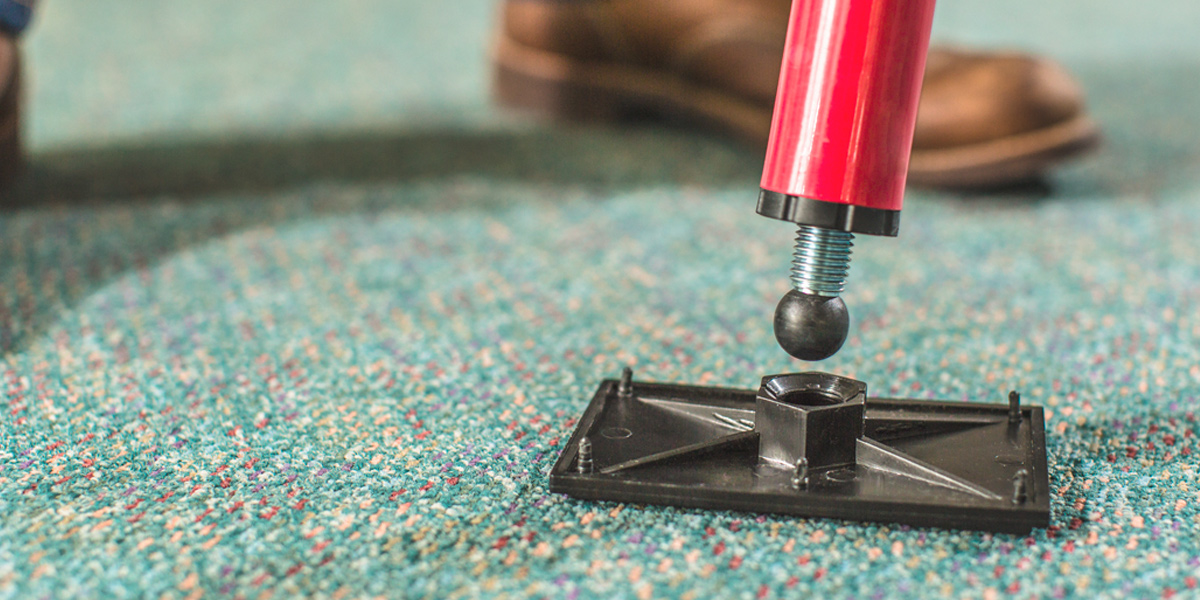
You’ll notice at the bottom of the pole is a durable plastic ball that is attached to another thick gauge metal bolt. Unlike the top micro tightening bolt, this one is not fixed to the body and the length can be adjusted, but the bolt can not be removed. Also unlike the head mounting bolt, the bottom micro tightening bolt is not reverse threaded. For shipping purposed the bolt will likely be screwed all the way down. To install the foot, it is best to unscrew it a small amount and then firmly apply pressure to get the foot to snap on to the ball joint.
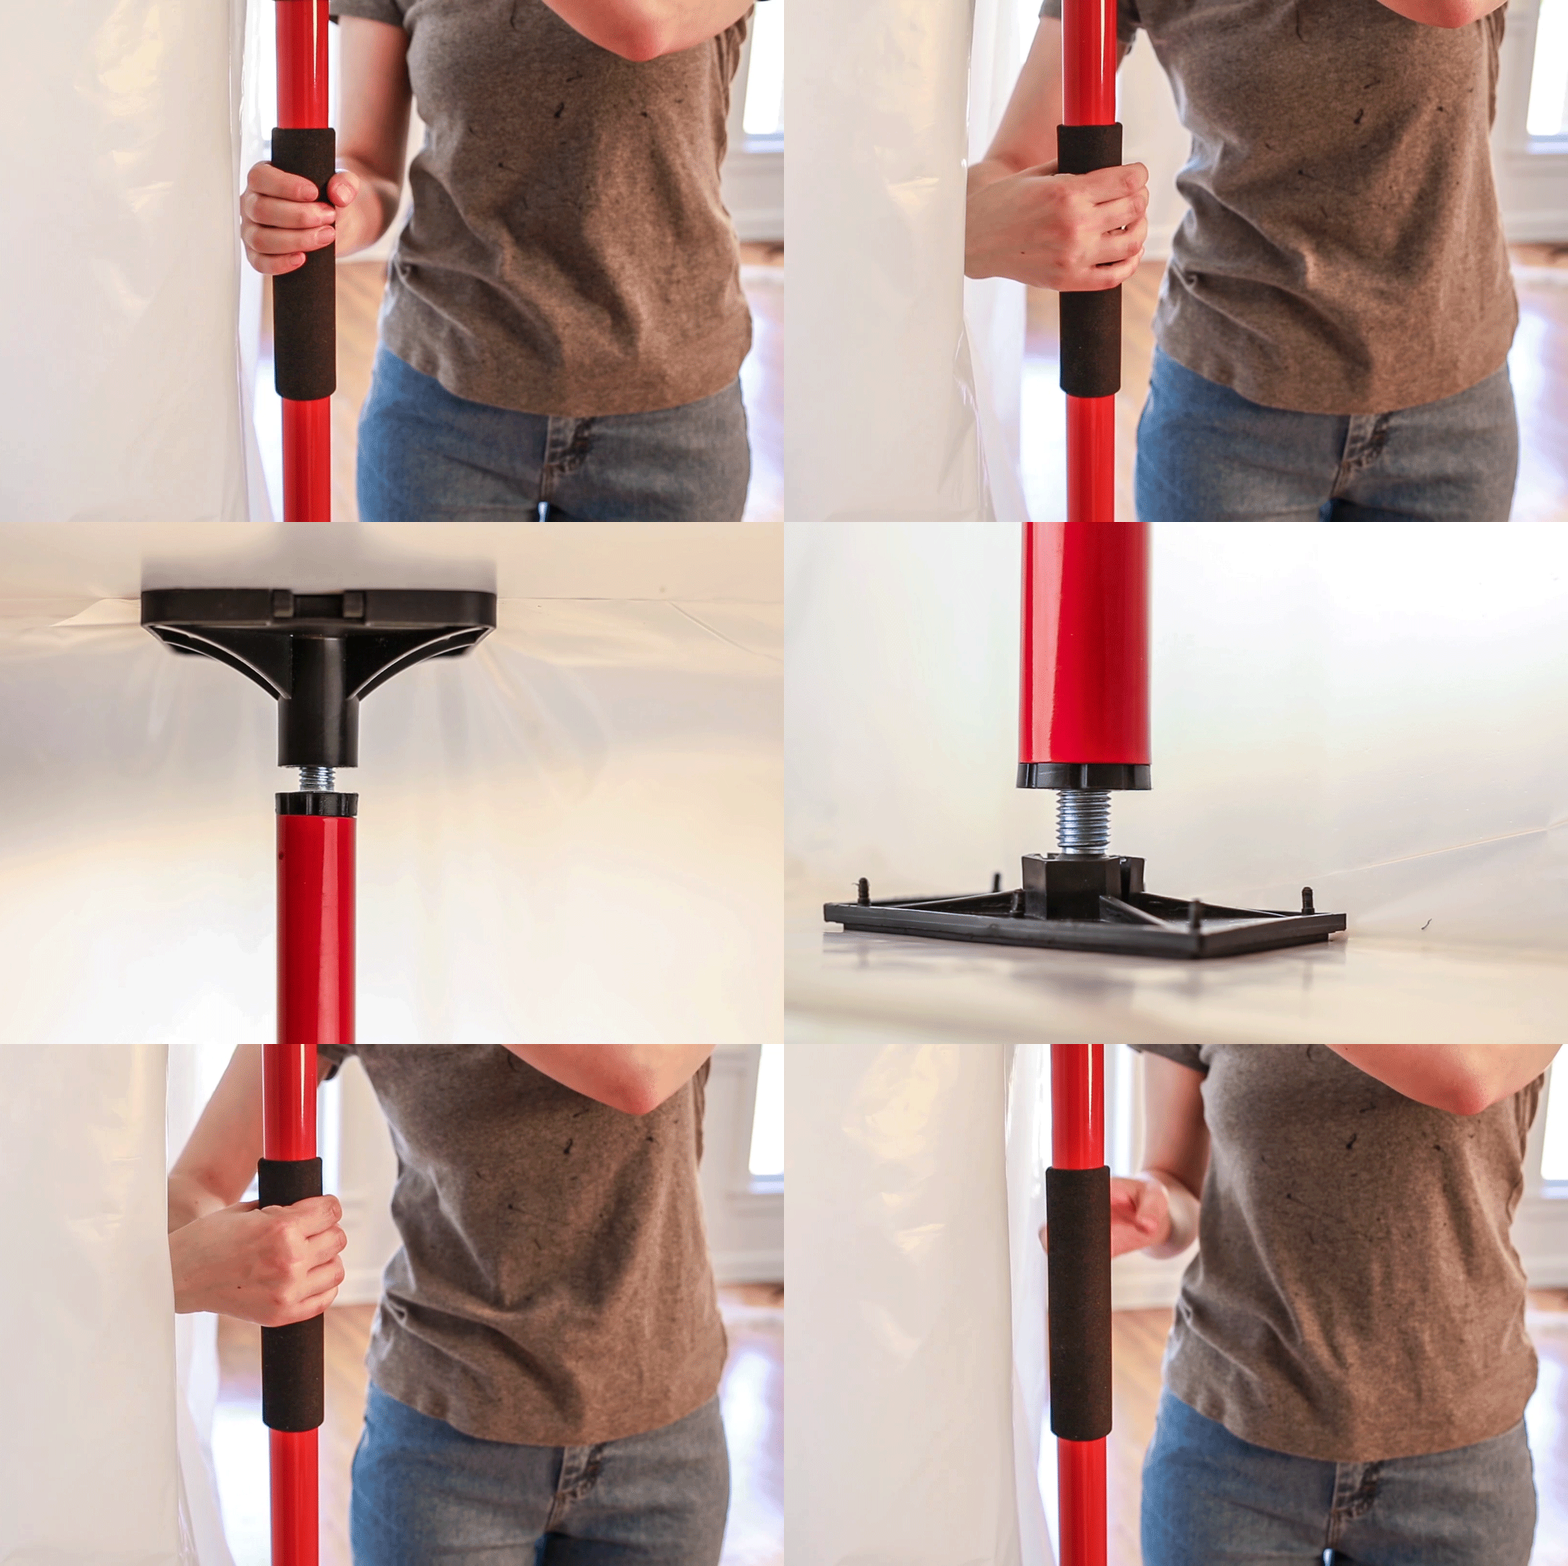
So what makes these micro tightening bolts so special? When you extend a pole and make firm contact with both the ceiling and the floor, all you have to do is gently twist the center of the pole counter clockwise a couple time. This will cause both bolts to push the head and the foot outwards and create the optimum amount of pressure to keep the pole in place for the duration of your job.
A quick tip to ensure this feature works every time; before you begin it’s best to re-screw the head and the foot down to the starting position. Each time you micro tighten the poles, the head and foot climb higher and higher on the bolts and if you don’t re-set them it could eventually result in a lack of pressure.

